REVIEW · ROTORUA
Auckland: One-Way Tour to Rotorua with Waitomo Caves
Book on GetYourGuide →Operated by Cheeky Kiwi Travel · Bookable on GetYourGuide
Somewhere between Auckland and Rotorua, the lights go on.
This one-way tour pairs a comfy, small-group drive through the Waikato countryside with a guided visit to the Waitomo Glowworm Caves, then continues south to Rotorua with geothermal sights along the way. It’s built for travelers who want the big-ticket stops without planning a day of transfers.
I like two things most. First, the guide-led road trip feels practical and fun: you get context as you pass the long Waikato river stretch, mountains, and farm animals, plus regular spots to point and say, this is why it matters. Second, Waitomo is handled thoughtfully—your guided time focuses on the cave formations (stalactites, stalagmites, lime columns), then you get a glowworm boat cruise on the Grotto River with thousands of New Zealand glowworms overhead.
One consideration: there’s moderate walking on uneven cave surfaces, and this tour isn’t recommended for wheelchair users or travelers with walking disabilities or heart problems.
In This Review
- Key Things I’d Bank On
- Auckland to Rotorua Without the Stress: A Scenic One-Way Plan
- The Waikato Drive: Mountains, Farms, and a Guide With Answers
- Waitomo Glowworm Caves: Limestone Formations and the No-Photo Rule
- The Glowworm Boat Cruise on the Grotto River
- Continuing South to Rotorua: Hydro Dams, Rivers, and Famous Sights
- Price and Value: What You’re Really Paying For
- What the Reviews Reveal (and How to Use It)
- Who This Tour Is Best For (and Who Should Skip It)
- Tips So Your Day Runs Smoothly
- The Practical Reality of Rotorua Drop-Off: Use Your Energy
- Should You Book This One-Way Auckland to Rotorua Tour?
- FAQ
- How long is the tour?
- Is this a round-trip or one-way experience?
- What’s included in the Waitomo Glowworm Caves part?
- Are meals included?
- Where does pickup happen?
- Is photography allowed inside the caves?
- How much luggage can I bring?
- Is it suitable for wheelchair users or people with mobility impairments?
- Do children need a car seat?
Key Things I’d Bank On
- Door-to-door pickup in a small mini-bus from listed Auckland locations, then drop-off in central Rotorua
- Guided Waitomo Glowworm Caves with a clear no-photography rule inside to protect the environment
- Glowworm boat cruise on the Grotto River, designed for the best viewing of thousands of glowworms
- A guide who talks you through the drive, including hydro areas, rivers, and animal sightings en route
- Snacks and bottled water included, so you’re not planning meals mid-journey
- 7 hours that turns “getting there” into a full, guided experience
Auckland to Rotorua Without the Stress: A Scenic One-Way Plan
Auckland to Rotorua can be either a simple drive… or a long, lonely transit day where you arrive tired and underwhelmed. This is the middle route that actually works: you travel in a small group with a guide, you stop for a major attraction on the way, and you roll into Rotorua ready to continue your trip.
The tour runs as a one-way transfer. That matters because you’re not trying to cram Rotorua and Waitomo into one overstuffed day. Instead, you get a smooth “southbound” flow: Auckland pickup → Waitomo caves → glowworm cruise → drive on to Rotorua → drop-off.
If you’re the type who wants structure (but not chaos), this fits. The guide doesn’t just move the van; they explain what you’re seeing, and they build the day so you can focus on the experience rather than navigation.
You can also read our reviews of more tours and experiences in Rotorua.
The Waikato Drive: Mountains, Farms, and a Guide With Answers
You start with pickup from your accommodation (or a listed nearby location). The vehicle is a comfortable mini-bus, and you travel through the Waikato countryside with a fully guided journey.
What makes the drive worth it is the “why” behind what you see. The route passes New Zealand’s long river stretch (the tour calls out the longest river in the country), plus mountains and farm animals along the way. This is the kind of scenery you could see out a car window alone, but the guide turns it into something you’ll remember.
I also like that the pacing isn’t frantic. You’re not racing from one lookout to the next. Instead, you get a steady flow of commentary and occasional moments to take it in—exactly what you want when you’re still getting used to New Zealand driving times and distances.
A small but real detail: the tour description includes a luggage allowance of 1 large and 1 small per person, which is important on a one-way day. You don’t want your bag to become a problem before you even reach the caves.
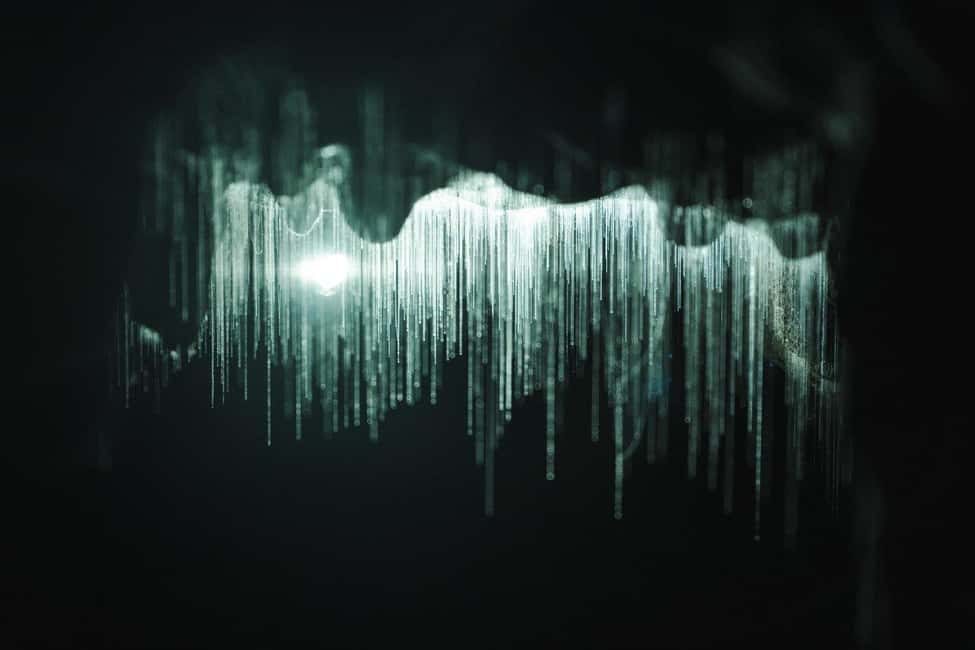
Waitomo Glowworm Caves: Limestone Formations and the No-Photo Rule
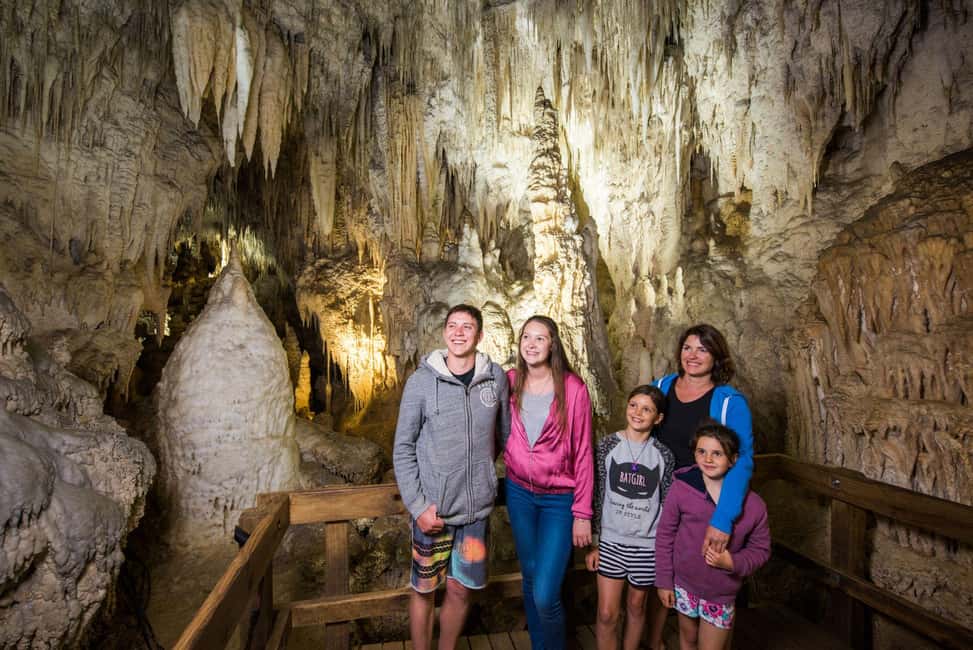
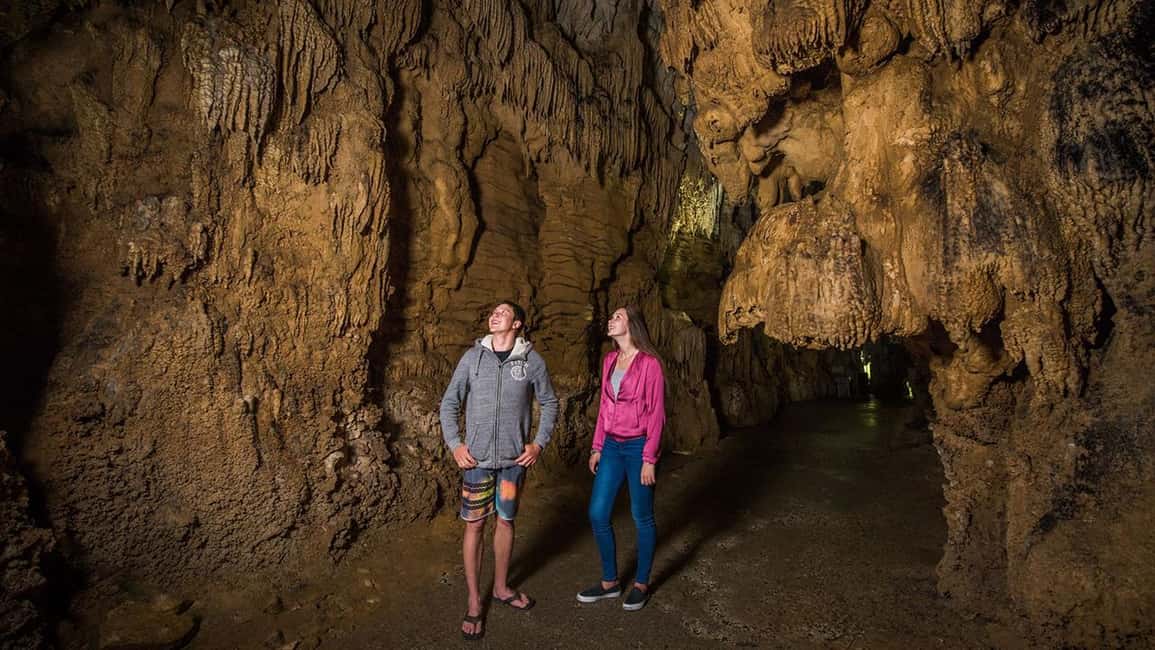
Waitomo Glowworm Caves is the headline stop, and the tour treats it like one. Once you arrive, you explore ancient cave spaces with a fully guided experience.
Here’s what to expect inside. Your guide takes you through dramatic cave formations—stalactites hanging from the ceiling, stalagmites rising from the floor, and lime columns. Even if you’ve seen cave photos before, seeing these shapes in real scale tends to hit harder. The formations aren’t just “pretty rocks.” They’re part of a living geology story, shaped over an extremely long time.
Now the rule you should plan for: photography isn’t permitted inside the caves. That can sound annoying until you understand what it’s protecting. In Waitomo, the cave ecosystem is delicate, and the policy helps preserve both the glowworm environment and the limestone formations for future visits. So go in with a mindset of memory first, not camera first.
You’ll also be descending deeper underground for the glowworm portion. Expect a change in temperature and lighting, and remember that cave surfaces can be uneven. Wear shoes you trust.
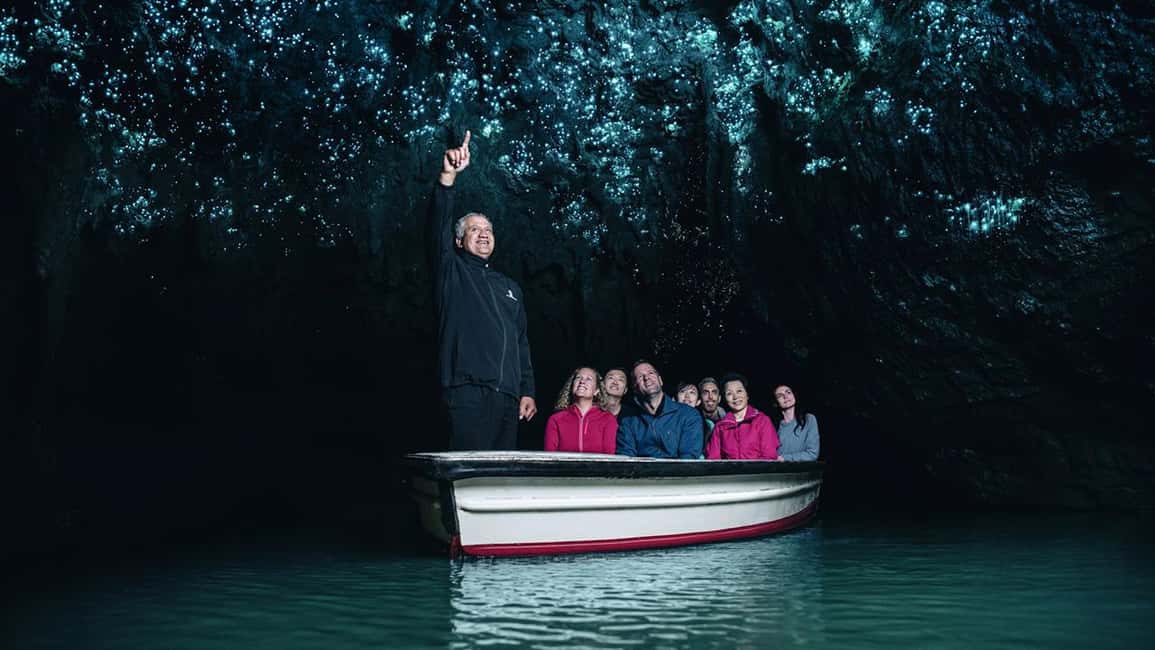
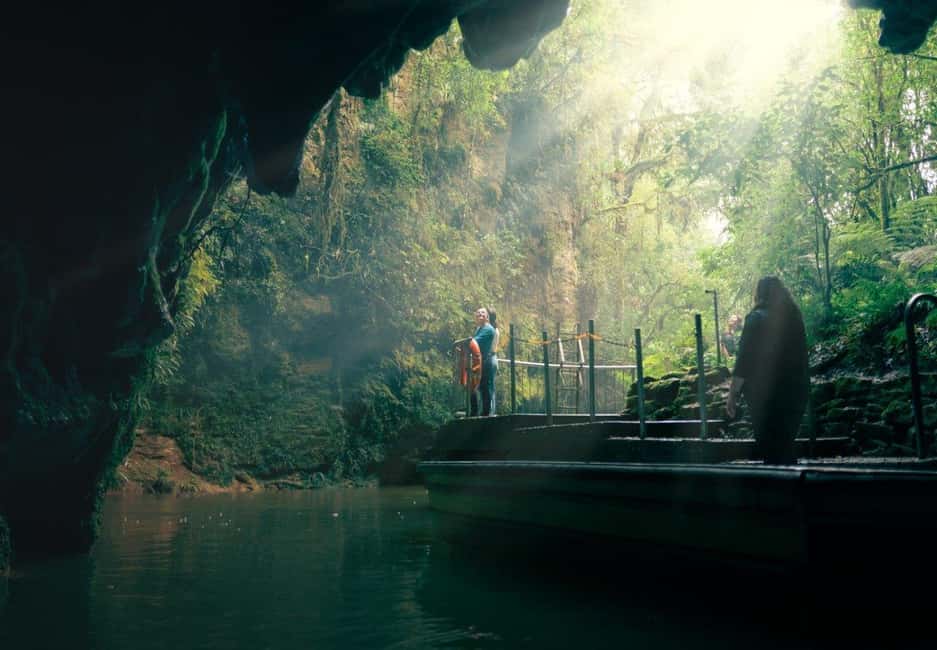
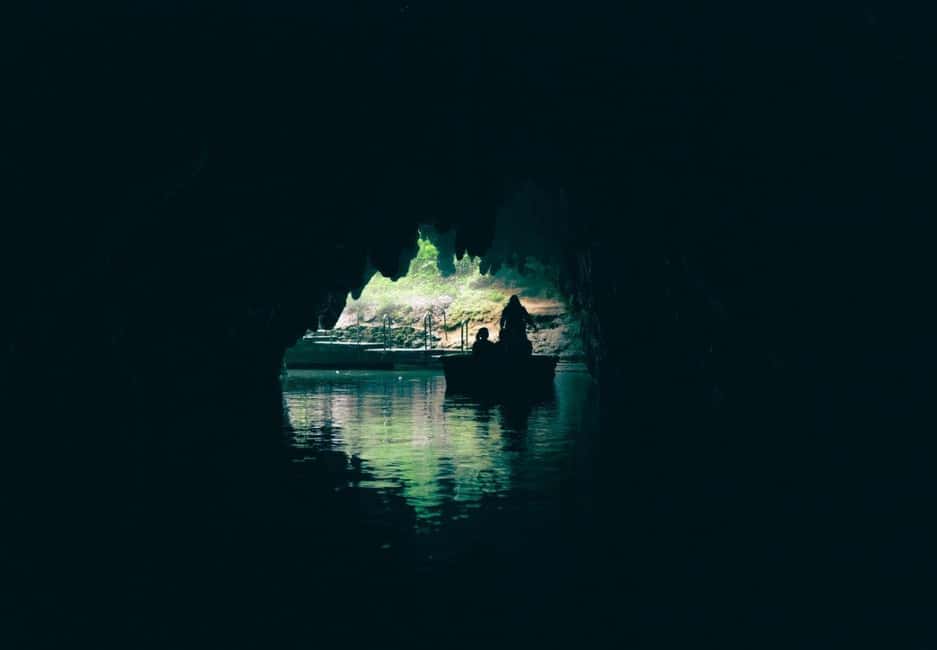
The Glowworm Boat Cruise on the Grotto River
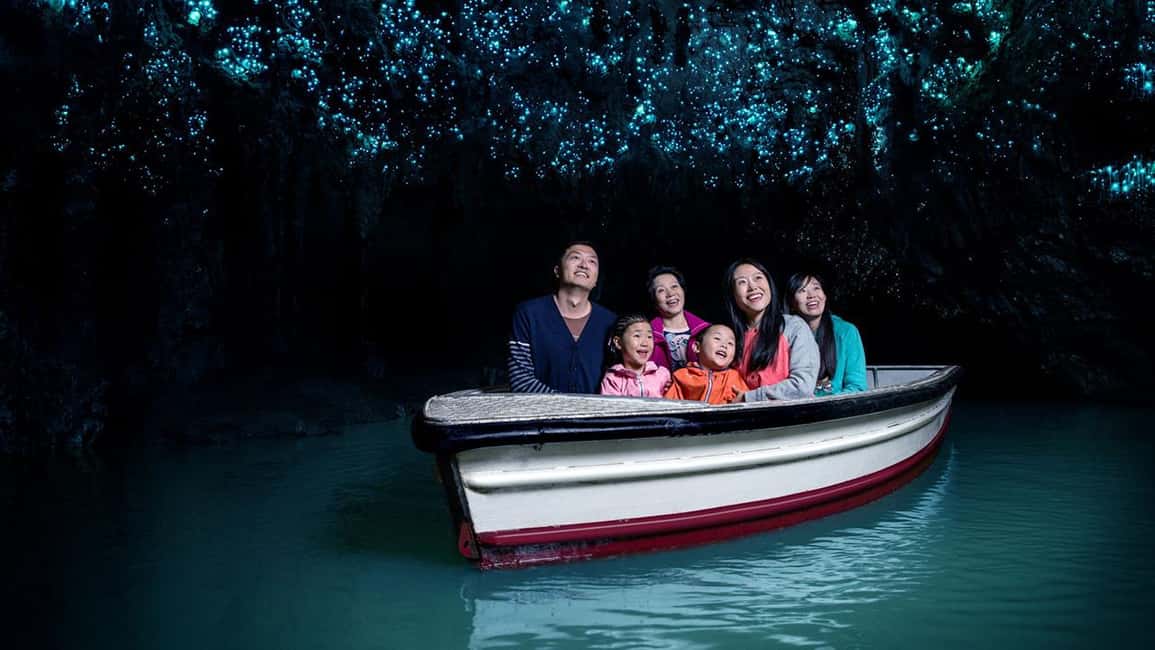
After your guided cave time, you head for the glowworm experience. You board a boat for a cruise on the Grotto River, where the glowworms glitter above you.
This is one of those moments where the setting does the work. The cruise format keeps you moving slowly through the grotto while you look up, so you get the classic glowworm view without scrambling for angles.
The tour emphasizes that you’ll see thousands of glowworms, which are unique to New Zealand. Whether this is your first glowworm show or your tenth, the boat cruise tends to feel special because it’s not a performance on a stage. It’s nature, lit by bioluminescence, with the dark cave acting like a black backdrop.
Two practical tips so this part stays enjoyable:
- Don’t over-plan your photos. The cave photography rule applies inside, and your best viewing is by eye.
- Keep your smartphone charged for the rest of your day. You’ll likely want it outdoors in Rotorua.
Continuing South to Rotorua: Hydro Dams, Rivers, and Famous Sights
Once Waitomo is done, you keep going south to Rotorua. This is the second half of the day, and it’s the part people sometimes overlook—until they realize it’s your chance to see how Rotorua looks before you arrive.
The drive includes more guided sightseeing stops and commentary, with reference points like hydro dams, rivers, and animal sightings along the way. It’s a nice “connector” between two iconic North Island experiences.
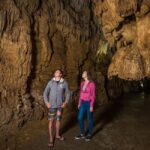
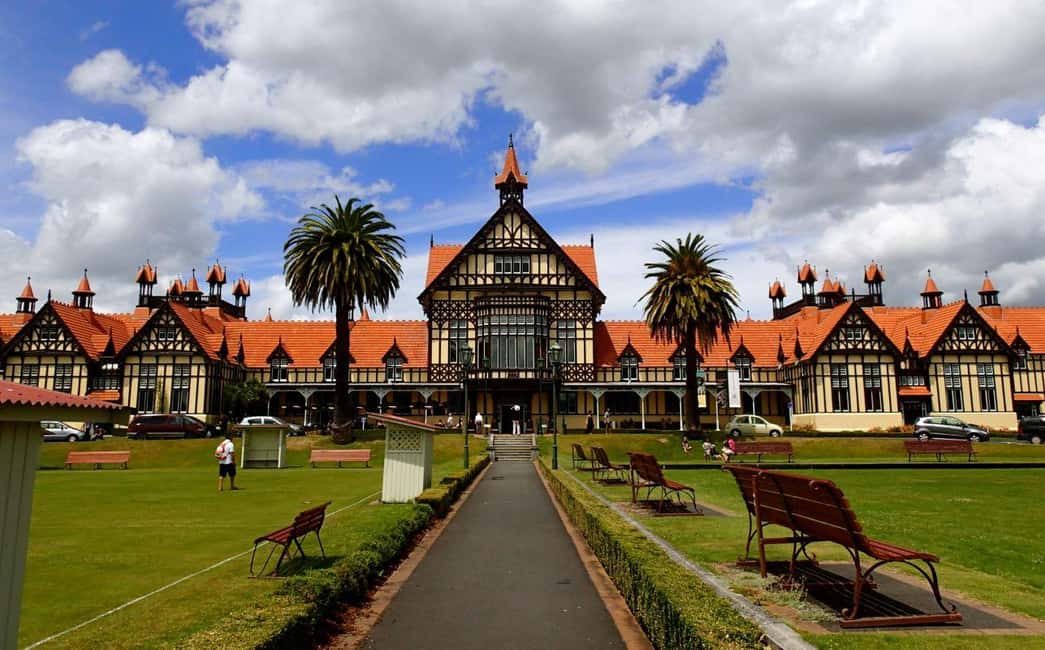
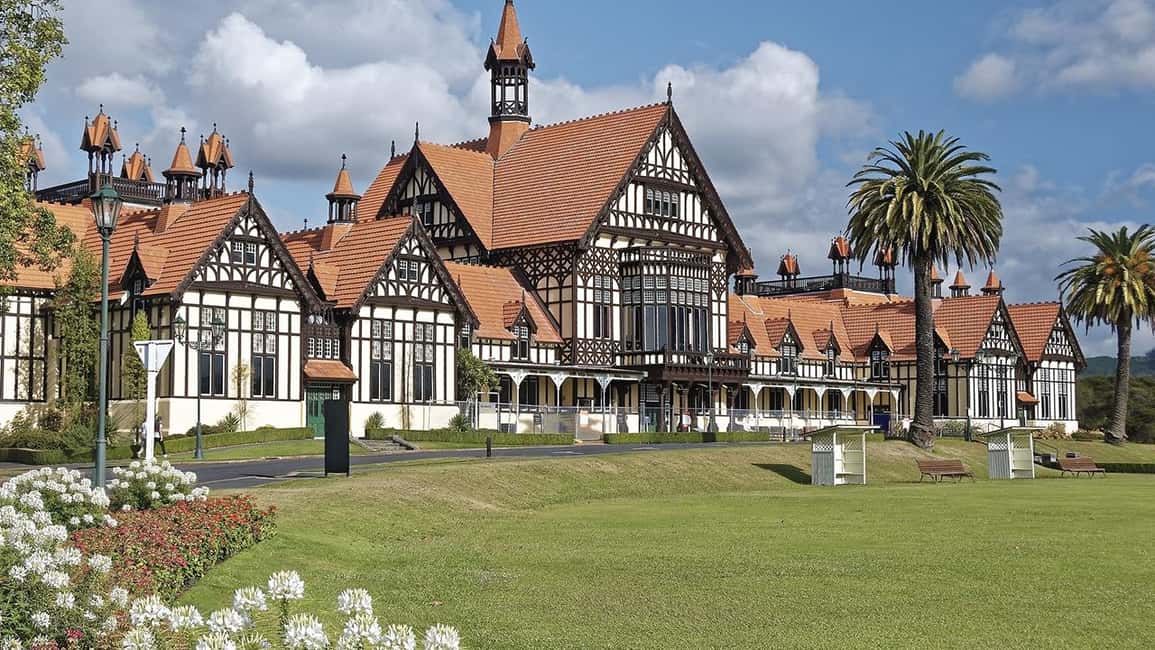
When you reach Rotorua, the guide takes you past major landmarks and geothermal highlights, including:
- Lake Rotorua
- Government Gardens
- Blue Baths
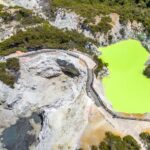
- Thermal Springs
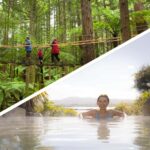
- Polynesian Spa
Even if you plan to do Te Puia, geyser walks, or Māori cultural shows later, this “passing through” segment helps you orient yourself. You get a sense of where things are clustered and what kind of atmosphere Rotorua has—steam, color, water, and that unmistakable geothermal vibe.
Finally, you’re dropped at your accommodation or a central Rotorua location.
Price and Value: What You’re Really Paying For
At $181 per person for about 7 hours, this isn’t a bargain transfer. It’s a “you’re buying time + guidance + paid entry” situation—and that’s where the value comes from.
Here’s what you’re effectively bundling together:
- Transport in a small group with door-to-door pickup
- A fully guided Waitomo caves visit
- Entry ticket for the caves
- A glowworm boat cruise
- Bottled water plus snacks during the day
If you tried to stitch this together on your own, you’d still pay for tickets and transport—and you’d lose the guided interpretation on the road and in the caves. In my view, that’s the real value: the tour turns an in-between transfer into a structured day of two major attractions.
Also, you’re arriving in Rotorua ready to use your energy. A one-way plan avoids the “half the day lost to logistics” trap that can happen when you bounce between regions.
What the Reviews Reveal (and How to Use It)
The overall rating is strong, and the standout theme is guide quality. People specifically praise drivers who act as guides—giving lots of local knowledge and recommendations during the drive.
One name that shows up is Grant, described as a driver-cum-guide with excellent information along the route. That matches what the tour promises: this isn’t just transportation; it’s a guided journey.
I also liked the flexibility mentioned in one account: the guide offered extra time in a secret spot for one group, while others went to a Rotorua add-on. That doesn’t mean every group gets the same treatment, but it’s a hint that the guide may try to keep your experience feeling personal rather than purely scripted.
Clean ride matters too. One review notes the coach was clean and comfortable. It sounds small, but on a day that starts early and ends with drop-off, comfort improves everything.
One more practical caution from reviews: pickup locations can have multiple buses picking up at the same time. Before you board, double-check you’re in the right one for your specific tour. That’s the easiest way to avoid a last-minute scramble.
Who This Tour Is Best For (and Who Should Skip It)
This one-way route works best if you:
- Want a guided Waitomo Glowworm Caves experience without organizing tickets or transfers
- Appreciate commentary during drives, not just point-to-point transport
- Are traveling as a couple, solo, or small group who prefers a mini-bus over a huge coach
- Can handle moderate walking and uneven cave surfaces
It’s not suitable if you have:
- Mobility impairments or need wheelchair access (the tour explicitly says it’s not recommended for wheelchair users)
- Heart problems or other serious medical conditions
Also, plan around the cave photography rule. If you absolutely need photos for memory keepsakes, this is a design choice you need to accept.
Tips So Your Day Runs Smoothly
A few things will make your experience better right away.
Wear comfortable shoes. You’ll do moderate walking, including in uneven cave terrain. Don’t rely on fancy sneakers or sandals.
Dress for changeable weather. The tour operates in all weather conditions, so layers help. You’ll also be spending time outdoors in Rotorua after the caves.
Bring a charged smartphone. You’ll want it for the geothermal sites and for general wayfinding after drop-off.
And if you’re traveling with kids: children under 7 must use a child safety car seat. If you don’t have one, one can be provided for NZ$20 per seat with 24 hours notice. Tell the operator the children’s ages when booking so they can plan.
The Practical Reality of Rotorua Drop-Off: Use Your Energy
Drop-off is at your accommodation or a central Rotorua location, which is helpful if you’re staying near key areas. Rotorua can be very “walkable-by-area,” meaning it’s easier to do your next activity if you’re placed near the action.
Since the tour passes major landmarks like Government Gardens, Blue Baths, and the thermal zones, you’ll likely have a better sense of where to go next. That’s the benefit of being guided through the arrival phase instead of arriving blind.
If you’ve got a booked add-on like Māori cultural experiences or thermal parks, this transfer gives you a calmer start. You’re not starting Rotorua with energy drained from a long self-planned transit day.
Should You Book This One-Way Auckland to Rotorua Tour?
I’d book it if you want Waitomo + glowworms + a guided southbound arrival in Rotorua, all wrapped into one smooth 7-hour plan. It’s especially strong for first-time visitors who don’t want to think about how to get from Auckland to Rotorua while still seeing the North Island’s big cave highlight.
Skip it if you need wheelchair-friendly access, or if moderate walking and uneven cave surfaces will be a problem. Also, if photography is a must for you, note that inside the caves you won’t be able to take photos—so plan on memory over camera.
In short: if your goal is a guided, value-packed day where getting there is part of the fun, this one-way tour is a solid choice.
FAQ
How long is the tour?
The tour is listed as 7 hours.
Is this a round-trip or one-way experience?
It’s a one-way tour from Auckland to Rotorua, stopping at Waitomo Glowworm Caves along the way.
What’s included in the Waitomo Glowworm Caves part?
You get an entry ticket and a fully guided tour to the Waitomo Caves, plus a glowworm boat cruise on the grotto river.
Are meals included?
Bottled water and snacks are included. Food and drinks aren’t included unless specified.
Where does pickup happen?
Pickup is included from listed locations only. If your accommodation isn’t listed, you choose the nearest available option and meet the tour there.
Is photography allowed inside the caves?
No. Photography inside the Waitomo Caves isn’t permitted.
How much luggage can I bring?
The tour includes a luggage allowance of 1 large and 1 small per person.
Is it suitable for wheelchair users or people with mobility impairments?
No. It’s not recommended for wheelchair users or people with mobility impairments due to uneven surfaces.
Do children need a car seat?
Children below 7 years old are required to travel in a child safety car seat. If you don’t have one, one can be provided for NZ$20 per seat with 24 hours notice.